Mastering Minecraft RTX: A Practical Guide to Ray Tracing Settings and Tips
If you’ve ever tinkered with Minecraft’s lighting and wondered how to get that cinematic glow without sacrificing too much performance, RTX is your ticket. Ray tracing in Minecraft transforms ordinary blocks into three-dimensional scenes with believable shadows, reflections, and volumetric lighting. It’s not just a tech showcase—it’s a playground for builders, explorers, and creators who want their worlds to feel tangible and alive. Let’s walk through how to tune RTX, what each setting does, and how to balance beauty with performance in a way that feels natural—and fun. 🎮✨
Before you dive in, make sure your system is primed for the challenge. RTX in Minecraft is most rewarding on a capable GPU with recent drivers, a fast SSD for loading large textures, and enough RAM to spare for high-detail textures and light calculations. With the right hardware, you’ll notice dramatic improvements in reflections on water, glossy metals, and the way shadows roll across surfaces as you move. If you’re setting up your workspace for streaming or photography of your build, a sturdy desk setup can help you keep devices steady while you fine-tune the visuals. For a tidy option on your desk, consider a two-piece desk stand that’s wobble-free—it’s a small upgrade with a big payoff. You can check out a suitable model here: https://shopify.digital-vault.xyz/products/phone-stand-for-smartphones-2-piece-wobble-free-desk-decor. 🛠️🧊
In Minecraft RTX, the magic happens in the way light behaves. Global Illumination (GI) carries light through corners instead of letting it terminate abruptly, reflections mirror the world with surprising fidelity, shadows grow more natural, and ambient occlusion adds depth to crevices and edges. The result is a world that feels more tactile—like you could reach out and touch the glow off a lantern or the glint off a pane of glass. If you’re curious about where to start, think of RTX as a collection of dials that work best when balanced. You don’t have to flip every switch to max; you can dial in just enough to evoke atmosphere while keeping performance solid. 🎯🌗
Key RTX Settings You’ll Encounter
Here are the core elements you’ll likely adjust. Treat them as a menu of options rather than a single recipe—your battlefield is your build, after all. 💡
- Ray Tracing On/Off — The core toggle. Turning this on enables all the RTX features, but it’s the first place where performance can take a hit if you crank things too high.
- Global Illumination (GI) — Enables realistic light bounce. On bright maps with lots of reflective surfaces, GI can dramatically improve realism.
- Reflections — Controls how surfaces reflect their surroundings. Glass, water, copper, and metal blocks benefit most from thoughtful reflection settings.
- Shadows — Adds depth and weight to objects. Softer shadows feel more natural but cost more GPU time; crisper shadows pop in dramatic builds but may reduce FPS.
- Ambient Occlusion — Finds creases and tight corners where light has a harder time reaching, enriching the sense of space.
- Render Distance — Impacts how far you can see lighting and shadows. Higher distances increase GPU work; lower distances help performance in dense builds.
- Path Tracing (if available) — The pinnacle of realism in RTX, simulating light paths with physically accurate behavior. It’s stunning, but it’s also the most demanding option.
- DLSS or Temporal Upsampling — If your setup supports DLSS, you can push higher internal resolution with less performance cost. It’s a lifesaver for 1080p and 1440p play.
“Small changes in GI and reflections can yield big gains in mood. Start with a modest GI boost, then add subtle reflections on water and glass to see how the scene breathes.” — Minecraft RTX guide
Tip: start with a baseline preset and iterate. For many players, a mid-range render distance, medium reflections, and moderate GI offer a sweet spot where visuals still impress without killing frame rates. If you’re playing on a laptop or a mid-tier desktop, DLSS can be your best friend for keeping motion smooth during exploration. 🚀
Practical Tips for Different Rigs
Not everyone has a RTX 4090 in their living room, and that’s okay. Here are pragmatic approaches to get the most out of Minecraft RTX on a variety of setups. 🧩
- Budget/Entry-Level RTX GPUs — Prioritize GI and shadows; keep reflections on, but modestly scaled. Pair with DLSS where possible and keep render distance moderate to preserve frame rates.
- Mid-Range Systems — You can push reflections and GI a notch higher, then enable DLSS-balanced upsampling for crisper visuals without sacrificing motion. Consider turning on Path Tracing selectively for special builds rather than full-time use. 🎨
- High-End Builds — Embrace a higher render distance, richer GI, and more dynamic shadows. If your workflow includes streaming or screenshot capturing, the extra fidelity is worth it. You’ll notice water reflections, glass glare, and shadow depth at a level that truly elevates the experience. 🔥
For creators who want to stage cinematic shots or vibrant builds, the right desk setup matters as much as the settings. A solid smartphone stand (the 2-piece wobble-free design) can help position a second monitor or phone at the perfect angle during recording sessions. See the product here for a convenient desk companion: https://shopify.digital-vault.xyz/products/phone-stand-for-smartphones-2-piece-wobble-free-desk-decor. 📱🪑
Working with Texture Packs and Lighting Philosophy
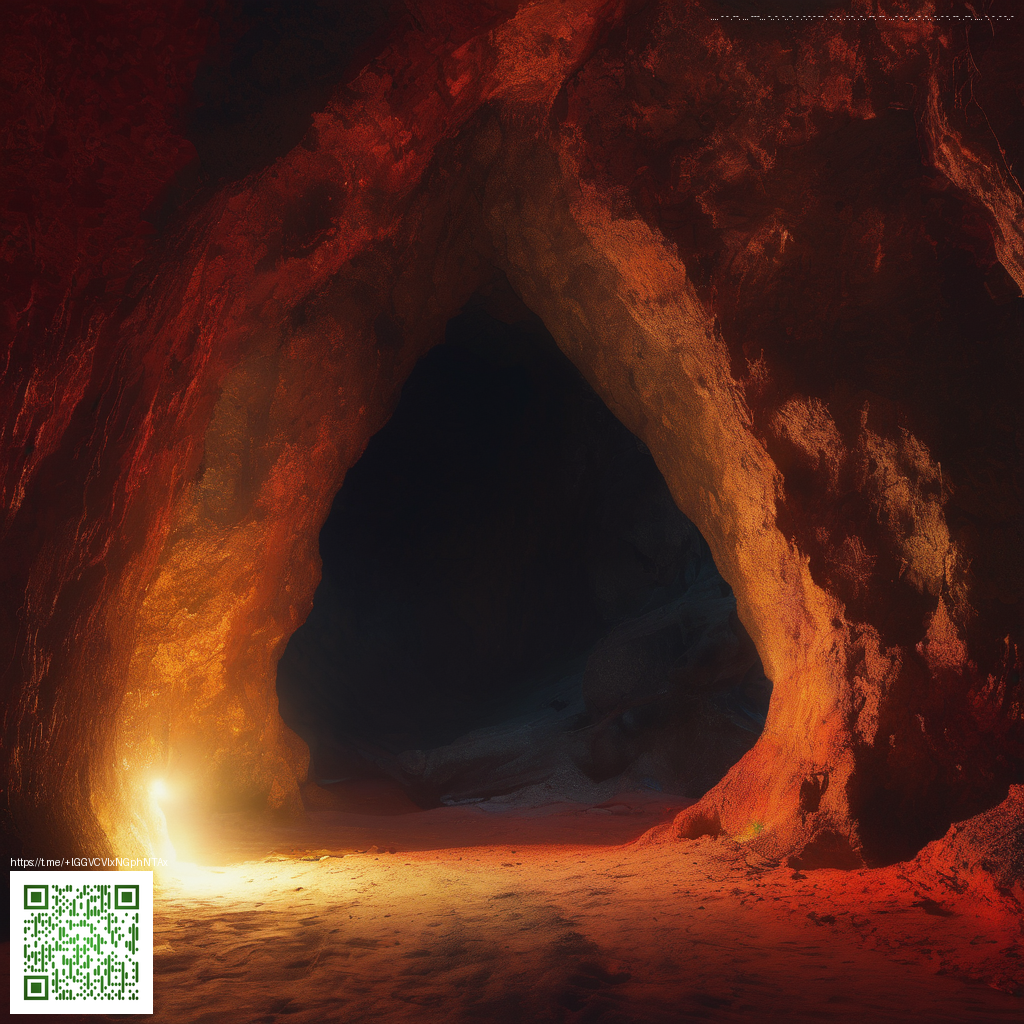
RTX doesn’t live in a vacuum. Texture packs with high-quality normals and metallic surfaces can amplify reflections and specular highlights. If you’re experimenting with a moody, cave-like environment, thoughtful lighting and contrast become just as important as the RTX toggles themselves. A well-chosen texture pack will pair gracefully with GI to cast soft, believable light across corridors and open halls. 🌑✨
Keep an eye on performance metrics as you experiment. If you notice stuttering, drop your render distance, reduce reflection resolution, or enable DLSS to reclaim smoothness. The goal is to produce scenes that feel alive in real time, not to chase every last pixel at the expense of fluid motion. 🧭
Showcasing Your World: Build, Capture, and Share
With RTX, the way you light a scene can become the story itself. A well-lit courtyard with lanterns casting warm glows, or a glass tower showing sharp, glass-like reflections, can be as compelling as the structure. Use camera angles that highlight light paths—low-angle shots that catch reflective surfaces tend to look spectacular in real-time renders. If you’re streaming, a clean desk setup and a reliable stand help you stay organized while you adjust lighting and capture that perfect frame. 🕹️🎥
As you experiment, remember that subtle changes often yield the most dramatic results. You don’t need to max every setting to achieve a cinematic feel; you want a balanced, believable scene that invites players to linger and explore. 🧪✨
Similar Content
For readers who enjoyed this take on RTX and lighting in gaming worlds, explore more insights on the following page: